How to create a service principal for power bi
This post is also available in:
![]() German
German
A few weeks ago, I published an article on how you can persist temporary accessible data with the combination of a data mart and a data flow, what by the way would also work with 2 data flows. Or with a data flow and a Power BI dataset, or with a data mart and an SSAS cube, there are many combinations.
3 Steps to set up a Service Principal for Power BI in Azure
However, afterwards I got a few mails and messages about the details on how to set up a service principal in Azure for Power BI. I remember I also had a few problems at the beginning and I needed some information from a few sources. For that reason and also to keep a tutorial for myself, I decided to write this article on how to create a service principal that you can use for Power BI.
In order to create a service principal, there are 3 steps needed:
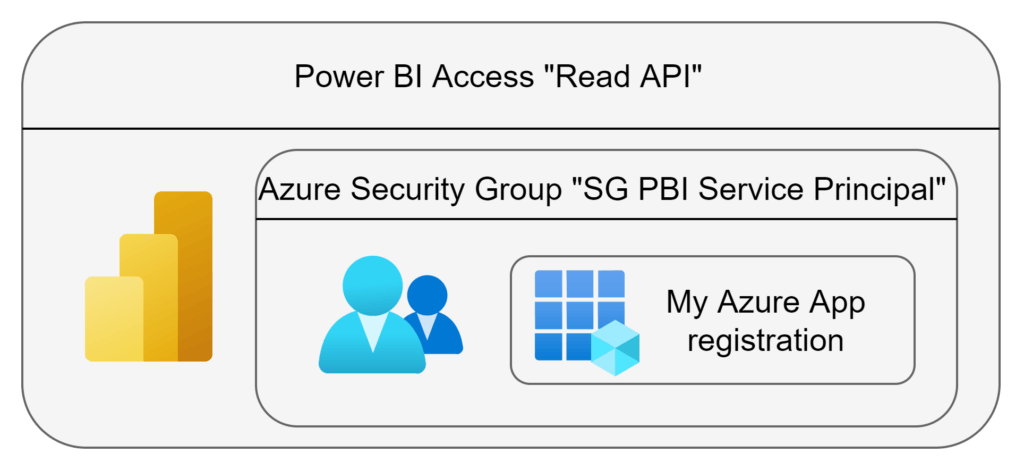
- Create an Azure App registration
- Create an Azure Active Directory Security Group and add the App
- Assign the Azure Active Directory Security Group access for Power BI
In order to understand a bit better how the three steps are working with each other, I created a small graphic to explain it:
Let’s get started with the first item:
1. Create an Azure App registration
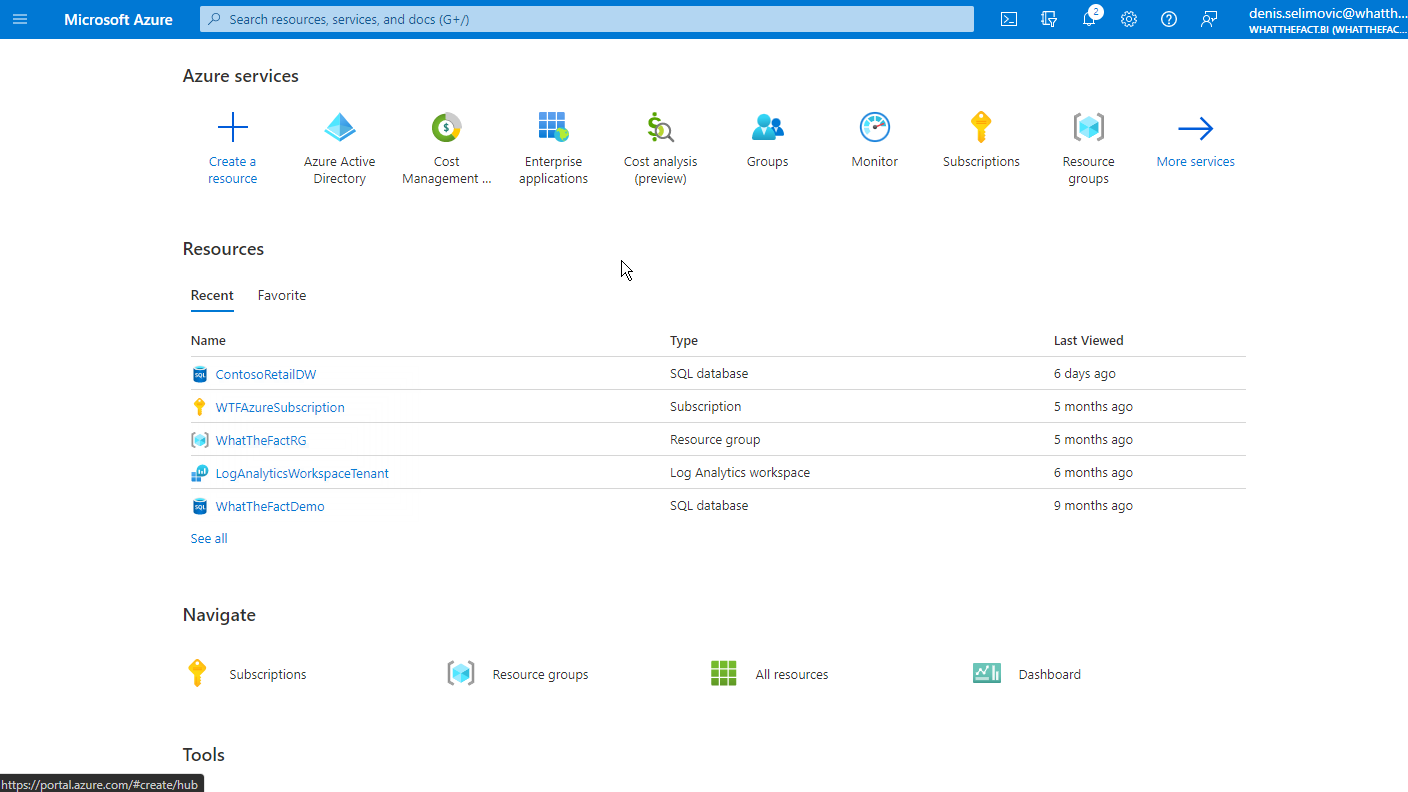
As a first step, we have to create an azure application in the Azure Portal.
The following short video shows how to do that:
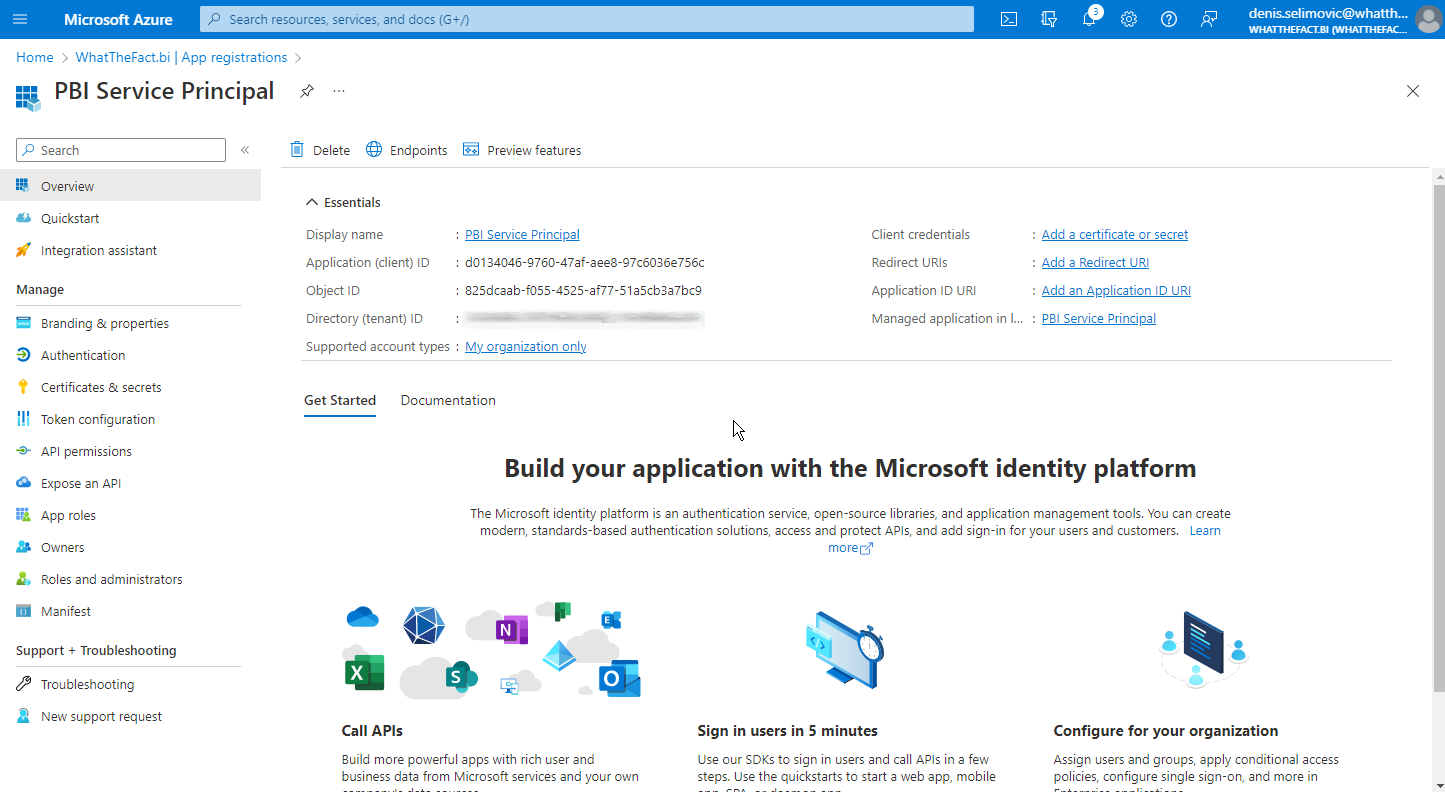
After the creation of the app, we have to create a client secret. With the ID of the Azure application and the Azure Secret, we can later log in as service principal. There are other ways to login, for example with certificates, but for this article I will focus on the Client Secret.
Important, the value of the client secret is only visible once, when you create it. So write it down and keep it at a safe and encrypted place.
2. Create an Azure Active Directory Security Group and add the App
After we created the Azure AD App, we have to create a security group. The security group is only a container to group users or applications. This group we can then later assign access in Power BI.
After the creation of the group, we add our Azure App as a member:
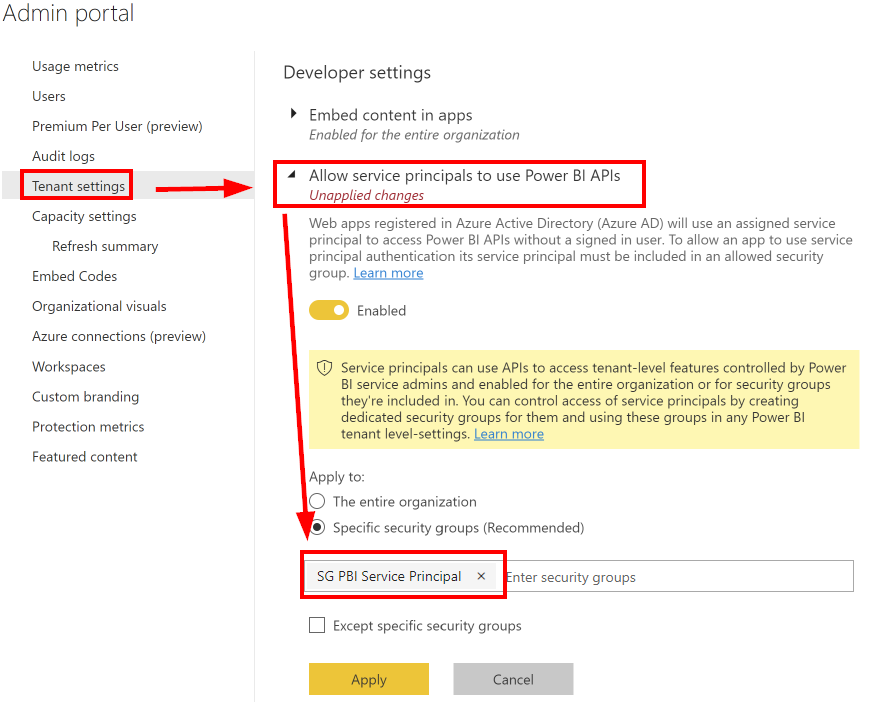
3. Assign the Azure Active Directory Security Group access for Power BI
And last but not least, in Power BI we have to grant access to the security group that contains our service principal.
For example, if our service principal should be able to access the Power BI APIs, then you need to grant access to that setting. In general, it is best practice to only enable this APIs to specific security groups, like shown in the screenshot below and never to the entire organization.
There are a few settings that you might want to grant access, depending on what exactly you want to do.
For example, you can also allow a service principal to:
- create and use profiles
- use read-only APIs
